
Improving your Wi-Fi Signal
This page outlines solutions for when your IP Energizer® is out of Range of your Wi-Fi
You may find that the IP Energizer® cannot connect to your Wi-Fi because it is not within signal range
-
If your energizer is just beyond the range of the home Wi-Fi, add a Wi-FI range extender
-
If your energizer is a long way away, add a 3g/4g portable modem.
Wi-Fi Range Extender Setup
For when your Wi-Fi signal can't quite reach your IP Energizer®...
-
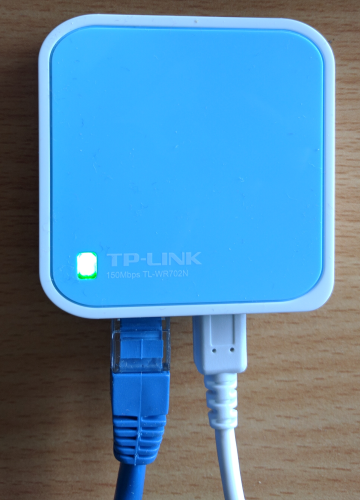
Plug your Wi-Fi extender into USB power and switch it on, plug one end of the supplied Ethernet cable into the Wi-Fi extender, and the other into your computer
-
Open a web browser such as Google Chrome on your computer and go to http://tplinklogin.net
Enter User Name: admin
Enter Password: admin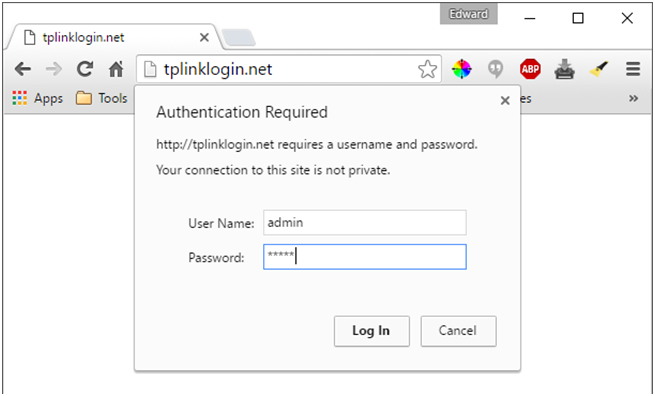
-
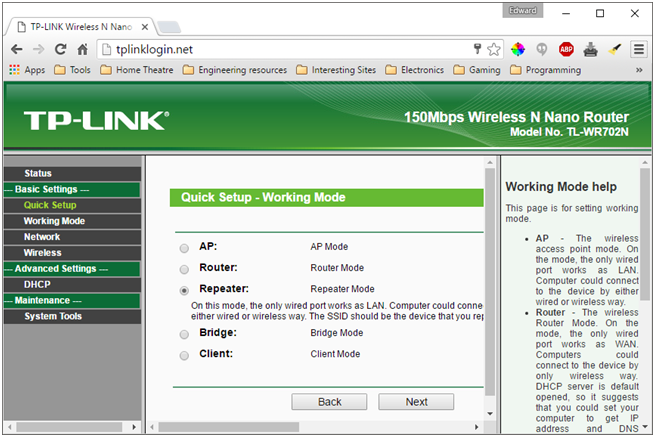
Click quick setup and then next, choose Repeater and then click next again
-
Simply select your countries region and press ‘Survey’
-
This should list all Wi-Fi access points that the Wi-Fi repeater can see, press connect for the access point that is your home Wi-Fi network
-
This should fill in all the necessary details required to connect to this network bar the password which you must fill in, this is the password that you use to connect to your current Wi-Fi network.
-
You will then be asked to reboot to save the settings. Click Reboot
-
Find a suitable location for your Wi-Fi extender; This needs to be close enough to your IP Energizer® such that it can provide Wi-Fi signal to it, but also within Wi-Fi range of your current Wi-Fi network, plug it in and switch it on.
-
Your Wi-Fi signal range has now been extended and the IP Energizer® should be able to connect to it
Using a 3G/4G Portable Modem
For when your IP Energizer® is in the middle of nowhere...
If your IP Energizer® is not within Wi-Fi range, you can use an off the shelf 3G or 4G portable modem such as the Huawei E5251. These are also known as portable Wi-Fi. These devices use a carrier like Telstra’s mobile network to gain Internet access and then create a Wi-Fi hotspot. You can use a contract or a prepaid SIM card with the network of your choice, but it must have data available on the plan. Please ensure there is a 3G or 4G signal from the network of your choice where the IP Energizer® is to be located before considering this option. The IP Energizer® only uses a very small amount of data, approximately 1MB per day.
If you are in Australia we recommend purchasing an ALDI sim card to be used with your Portable Modem.
ALDI offers a "Pay As You Go" option valued $0.05 per MB of Data transfer. Since our system uses close to 500MB per year of data you will be paying approximately $25.00 per year.
Make sure you check the data coverage that ALDI provides here: www.aldimobile.com.au/faq/#collapse-three
For more information on ALDI's Pay As You Go plan go to: www.aldimobile.com.au/plans/payg/
In our own testing we used Vodafone's Pocket WiFi® 4G R216, and Telstra's Pre-Paid 3G Wi-Fi. We will explain how to set these up below.
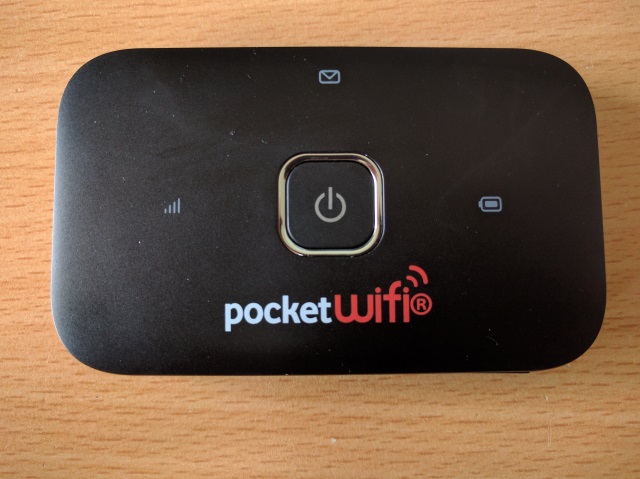
Setting up the Vodafone's Pocket WiFi® 4G R216
The quick start guide is available in pdf form here. However we will summarise the steps.
-
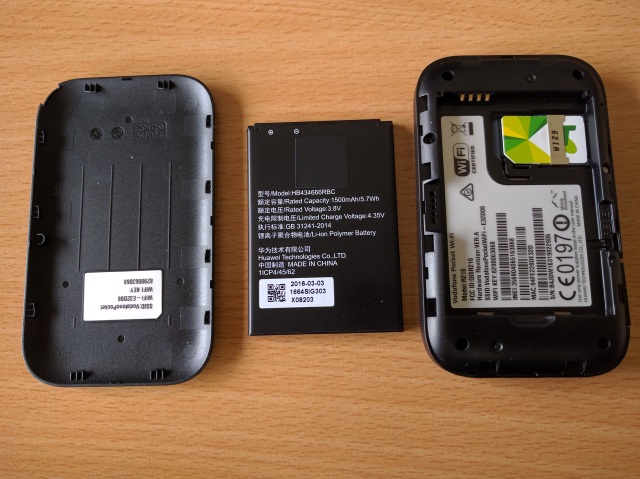
First you need to pry open the back, remove the battery and insert the sim card. Put it back together and charge it if necessary
-
Press and hold the power button on the front for a few seconds until you see the unit switches on
-
The Wi-Fi modem will come with an included 'Wi-Fi Card' This looks like a business card that contains the SSID and password for connecting to the wireless access point. You can test that it works by connecting to the access point using your mobile phones Wi-Fi and then seeing if you can browse the internet.
-
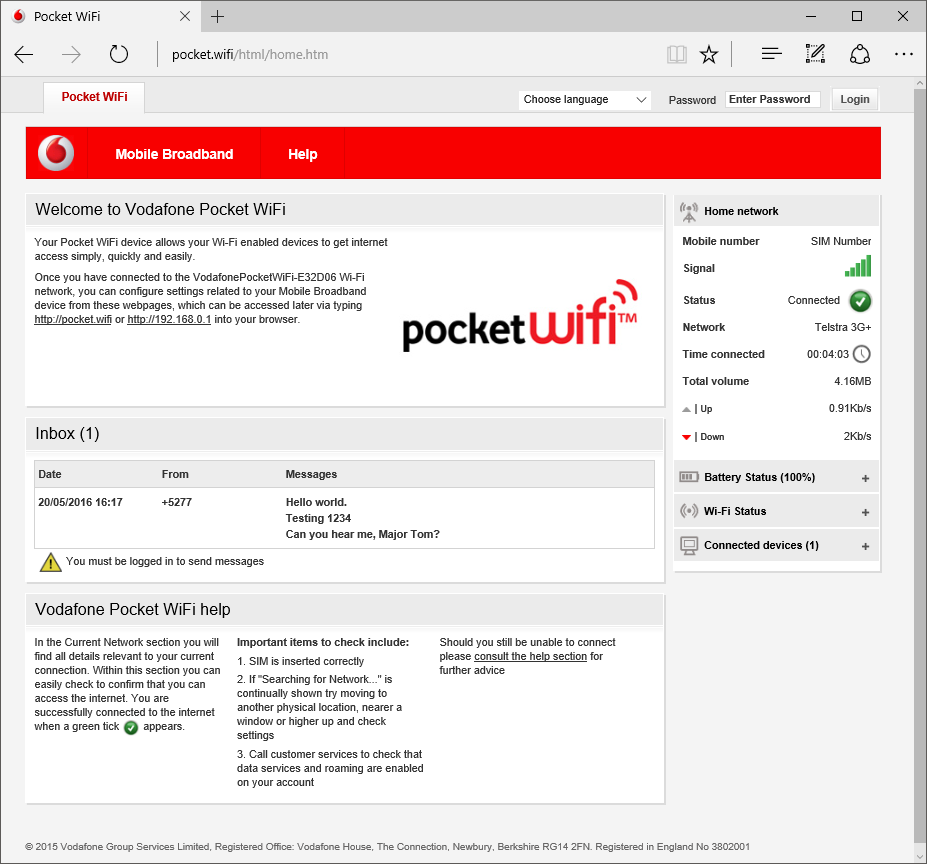
Once connected, browse to this page in your web browser - http://pocket.wifi
-
login using the password 'admin' - you may be asked to activate your sim, follow the on screen instructions on how to complete this.
-
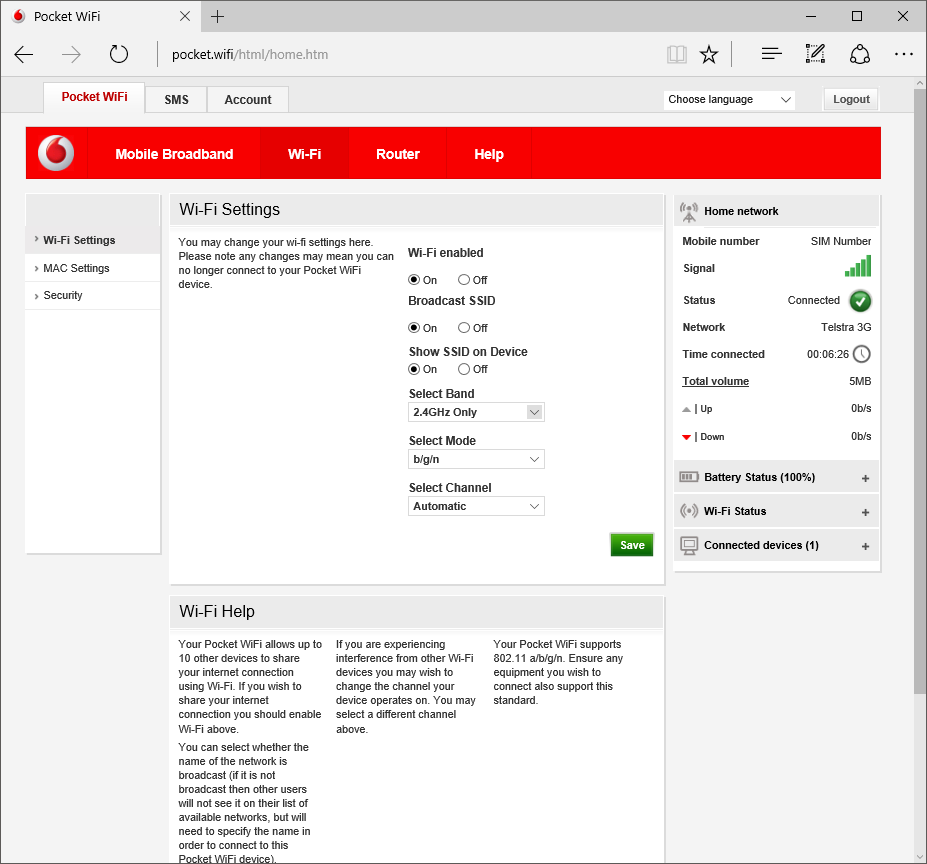
Once logged in you will want to adjust the wireless settings to only use the 2.4GHz band, to do this click Wi-Fi and then Wi-Fi Settings. ensure that your settings look like the ones shown in the image below. Click Save.
-
As an optional step, you can modify the SSID name to something more memorable, and at the same time change the password to something else as well. To do this click the Security tab, and enter the values to your liking.

-
Once you have a working Wi-Fi connection you can follow the guide here for setting up your IP Energizer® to utilise it.
Setting up the Telstra's Pre-Paid 3G Wi-Fi
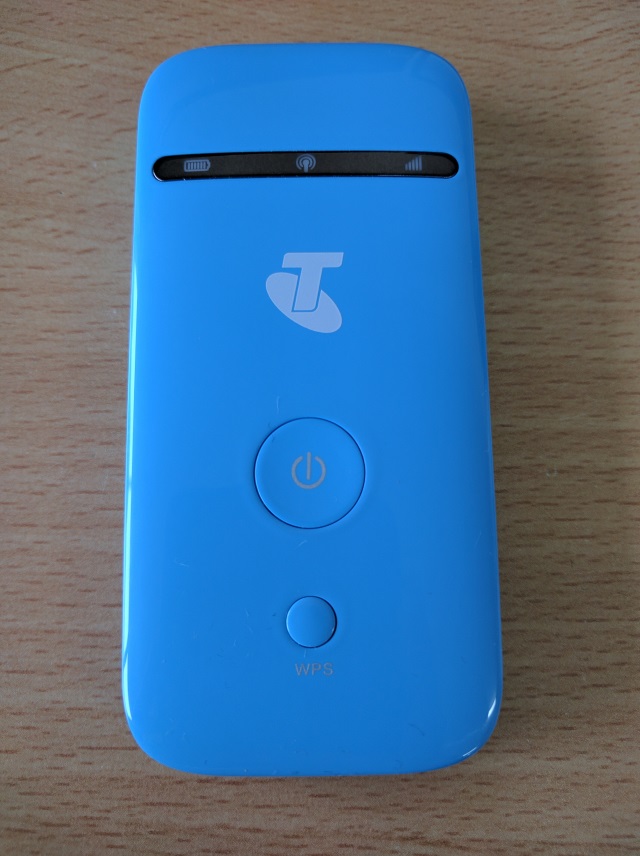
The full guide is available in pdf form here. However we will summarise the steps.
-
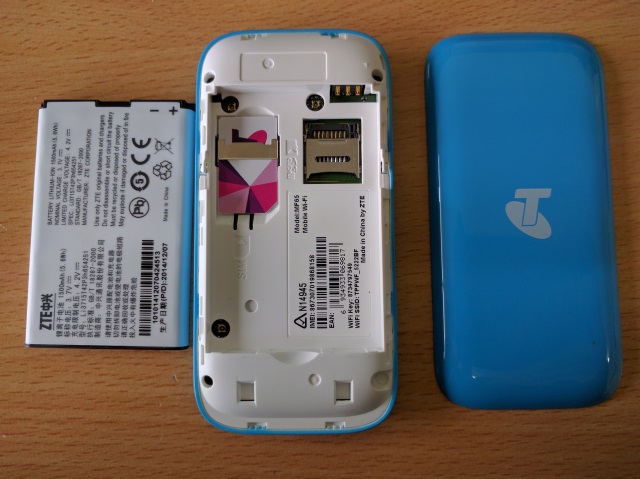
First you need to slide open the back, remove the battery and insert the sim card. Put it back together and charge it if necessary
-
You will need to activate the included sim here.
-
Press and hold the power button on the front for a few seconds until you see the unit switches on
-
The Wi-Fi modem will come with an included 'Wi-Fi Card' This looks like a business card that contains the SSID and password for connecting to the wireless access point. You can test that it works by connecting to the access point using your mobile phones Wi-Fi and then seeing if you can browse the internet.
-
Once you have a working Wi-Fi connection you can follow the guide here for setting up your IP Energizer® to utilise it.